Wood-Fired Cooking: Mastering Outdoor Heat
There’s something primal about cooking over an open flame. The crackle of burning wood, smoke curling through the air, and that unmistakable flavor you just can’t replicate on a gas grill. If you’ve ever tasted a pizza from a wood-fired oven or a steak cooked over hardwood coals, you know exactly what I’m talking about.
But but-wood-fired cooking intimidates a lot of people. Fire is unpredictable, right - temperatures fluctuate. There’s no dial to turn. And yet, once you understand the basics, cooking with wood becomes surprisingly intuitive. Your ancestors did it for thousands of years without thermometers or YouTube tutorials.
Why Wood Makes Everything Taste Better
Let’s get the obvious out of the way: flavor. Wood smoke contains hundreds of organic compounds that infuse your food with complexity you won’t find anywhere else. Different woods bring different characteristics-oak provides a medium smokiness that works with almost anything, while fruitwoods like apple and cherry add subtle sweetness. Mesquite burns hot and delivers an aggressive, almost peppery smoke that’s perfect for beef but can overwhelm chicken or fish.
The high heat is another factor. A well-built wood fire can easily exceed 700°F, sometimes pushing past 900°F in a proper pizza oven. That kind of temperature creates what’s called the Maillard reaction on steroids-the browning and caramelization that makes food taste deeply savory. Your backyard propane grill maxes out around 500°F if you’re lucky.
And then there’s the radiant heat. Unlike a gas burner that heats from below, a wood fire surrounds your food with heat from multiple angles. This creates more even cooking and that beautiful crust formation that makes wood-fired bread and pizza so special.
Choosing Your Wood (This Actually Matters)
Not all wood works for cooking. Some is downright dangerous.
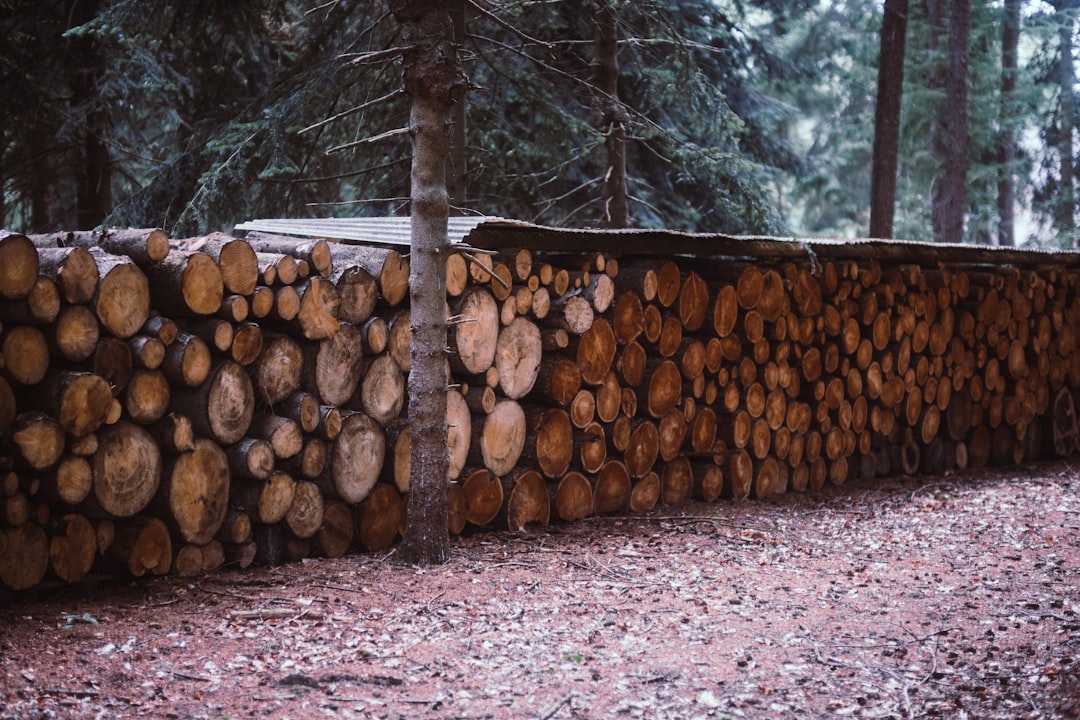
Never burn treated lumber, painted wood, or anything from construction sites. The chemicals released will contaminate your food and potentially make you sick. Stick to natural hardwoods, and make sure they’re properly seasoned-meaning dried for at least six months to a year.
Green or wet wood creates excessive smoke, burns at lower temperatures, and deposits creosote on your food. That bitter, acrid taste? Wet wood is usually the culprit.
Here’s a quick breakdown of popular cooking woods:
Oak - The workhorse. Medium smoke, burns hot and long, pairs with virtually everything. If you’re just starting out, oak should be your default.
Hickory - Strong, bacon-like smoke. Fantastic for pork and ribs, but use sparingly or it can become overpowering.
Apple and Cherry - Mild, slightly sweet. Great for poultry, pork, and fish. Burns a bit faster than oak.
Pecan - Similar to hickory but gentler. A good compromise if you want smoky flavor without the intensity.
Mesquite - Burns extremely hot and fast with aggressive smoke. Best for quick-cooking items like steaks and fajitas. Not ideal for low-and-slow cooking.
Building and Managing Your Fire
This is where most beginners struggle. You light the wood, it catches, flames shoot up-and then what?
The secret is patience. You don’t want to cook over open flames. What you’re after are coals. Burning coals provide consistent, manageable heat. Flames are unpredictable and will char the outside of your food before the inside cooks through.
Start your fire 30-45 minutes before you plan to cook. Use a chimney starter or small kindling to get things going. Once your main wood catches, let it burn down until you have a bed of glowing red and white coals with occasional small flames. That’s your cooking fire.
Temperature control comes from three variables: the amount of coals, the distance between food and heat, and airflow. More coals mean more heat. Raising your cooking grate or moving food to the edge of the fire reduces temperature. Opening vents increases oxygen flow, making the fire burn hotter.
For direct high-heat cooking (steaks, burgers, vegetables), you want your coals close and concentrated. For indirect cooking (whole chickens, roasts, ribs), push coals to one side and cook on the other. A two-zone setup gives you flexibility to sear and then finish gently.
What to Cook First
Don’t start with a $40 ribeye. Seriously. Practice on foods that are forgiving.
Vegetables are perfect for learning fire management. Thick-sliced zucchini, bell peppers, onions, and asparagus all benefit from high heat and a touch of smoke. If you burn them, you’re out a few bucks. They also cook quickly, giving you immediate feedback on your fire.
Chicken thighs handle temperature swings better than breasts. The extra fat keeps them moist even if you overcook slightly. Position them skin-side toward the heat for crispy skin, then flip to finish.
Burgers and sausages are another good training ground. They’re cheap, relatively quick, and teach you about flare-ups-those sudden bursts of flame when fat drips onto coals. Managing flare-ups is a core skill.
Once you’re comfortable, graduate to whole birds, pork shoulders, and yes, those expensive steaks.
The Pizza Oven Question
Wood-fired pizza has become incredibly popular, and for good reason. That blistered, leopard-spotted crust is basically impossible to achieve in a home oven.
But do you need a dedicated pizza oven? Not necessarily.
Portable options like the Ooni and Roccbox work surprisingly well. They’re relatively affordable, heat up in 15-20 minutes, and produce restaurant-quality pies. The downside is they’re really only designed for pizza and flatbreads.
Built-in or freestanding wood-fired ovens offer more versatility. You can bake bread, roast meats, even slow-cook beans and stews. They retain heat for hours after the fire dies down. But they’re expensive-ranging from $1,500 for a basic kit to $5,000+ for professional-grade installations.
Honestly? If you’re just getting into wood-fired cooking, start with a basic charcoal grill and add wood chunks to your coals. Master fire management there before investing in specialized equipment.
Common Mistakes and How to Avoid Them
Cooking over flames - We covered this, but it bears repeating. Wait for coals.
Using too much wood - More isn’t better. Heavy smoke creates bitter, acrid flavors. You want thin, blue smoke, not thick white billows.
Lifting the lid constantly - Every time you peek, you lose heat and extend cooking time. Trust your instincts and check less frequently.
Ignoring the wind - Wind dramatically affects fire behavior. A steady breeze can double your burn rate and create uneven heat. Position your cooker to minimize wind impact, or use a windscreen.
Skipping the rest - Wood-fired meats need to rest before cutting. Those high temperatures drive juices toward the center. Give your food 5-10 minutes to redistribute before slicing.
Making Peace with Imperfection
Here’s something nobody tells you: inconsistency is part of the charm. Wood-fired cooking isn’t about precision. It’s about paying attention, making adjustments, and accepting that every fire behaves differently.
Some nights your pizza will be perfect. Other nights, you’ll burn the bottom. That’s okay. A charred edge isn’t a failure-it’s character.
The best wood-fired cooks I know don’t stress about exact temperatures or rigid timelines. They watch the fire, smell the smoke, listen to the sizzle. They’ve developed intuition through practice.
You will too.
Start simple - burn through some cheap vegetables. Make mistakes. Figure out what your particular setup needs. And somewhere along the way, you’ll pull something off the fire that tastes better than anything you’ve ever cooked before.
That moment is worth every burned burger that came before it.