The Science Behind Perfect Caramelization
Ever wonder why that steak smells so incredible when it hits a screaming hot pan? Or why your onions transform from sharp and pungent to sweet and golden after slow cooking? That’s caramelization at work-and once you understand the science behind it, you’ll never look at browning the same way again.
What Actually Happens When Food Browns
Here’s the deal: caramelization is basically controlled burning. When you heat sugars above 320°F (160°C), they start breaking down and recombining into hundreds of new compounds. These compounds create that distinctive golden-brown color and complex, nutty-sweet flavor we all crave.
But there’s a catch. True caramelization only applies to sugars-sucrose, glucose, fructose. When proteins get involved, you’re dealing with something different: the Maillard reaction. Most of the time when you’re cooking, both processes happen simultaneously.
Think about it. A caramelized onion involves actual sugar caramelization. A seared steak? That’s primarily Maillard browning from proteins and amino acids reacting with sugars. Your perfectly toasted marshmallow - both reactions happening at once.
Caramelization vs - maillard: What’s the Difference?
People mix these up constantly, and honestly, the distinction matters if you want to control your results.
Caramelization requires:
- Pure sugars
- Temperatures above 320°F
- Time and patience
- No proteins necessary
The Maillard reaction needs:
- Amino acids (from proteins)
- Reducing sugars
- Lower starting temperature (around 280°F)
- Slightly alkaline conditions help
Why should you care? Because you can manipulate each process differently. Want deeper Maillard browning on your bread? Add a pinch of baking soda to your dough-the alkaline environment speeds things up. Trying to caramelize sugar for a crème brûlée? Protein content doesn’t matter at all.
The Three Stages of Sugar Caramelization
Watch sugar carefully when you heat it, and you’ll notice distinct stages:
Stage one: Melting (320-340°F) Sugar crystals dissolve into a clear liquid. No color yet. This is where most people get impatient and crank the heat. Don’t - you’ll burn it in seconds.
Stage two: Browning (340-360°F) Now we’re cooking. The sugar molecules start fragmenting and recombining. You’ll see pale gold shifting to amber. Hundreds of flavor compounds form during this window-fruity, buttery, nutty notes all developing at once.
Stage three: Deep caramel (360-380°F) Dark amber to mahogany. Bitter notes emerge alongside the sweetness. Push past 380°F and you’re heading toward burnt sugar territory. There’s maybe a 15-second window between perfect and ruined.
Temperature control is everything - seriously. A candy thermometer isn’t optional if you’re making caramel sauce or pralines.
Why Moisture Is Your Enemy (and Your Friend)
Want to know why your onions take 45 minutes to caramelize? Water. Onions are about 89% water, and that moisture needs to evaporate before temperatures can climb high enough for browning reactions.
This is basic thermodynamics. Water boils at 212°F-well below the 320°F threshold for caramelization. As long as there’s significant moisture present, your food essentially can’t brown properly.
So what’s the fix?
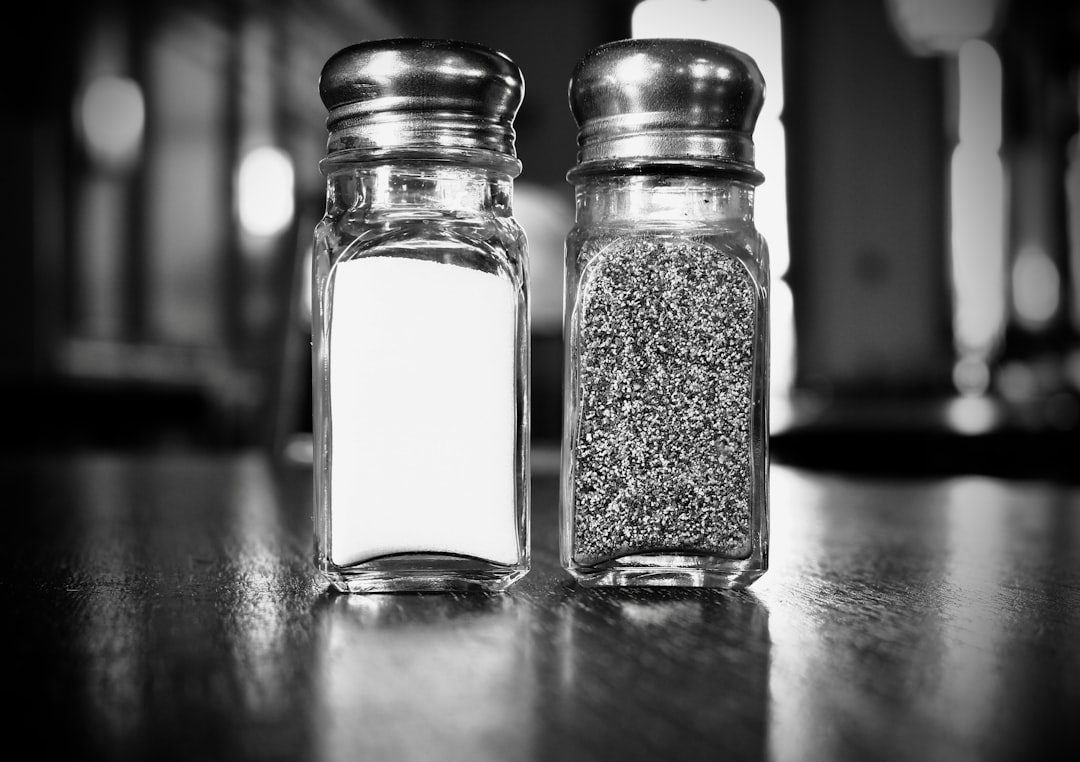
- Pat proteins dry before searing. That surface moisture is steam-cooking your steak instead of browning it. - **Don’t crowd the pan. ** More food means more moisture release, which drops pan temperature and creates steam. - **Use wider, shallow pans. ** More surface area means faster evaporation. - **Salt ahead of time. ** Salt draws moisture to the surface where it can evaporate. For steaks, salt 45 minutes ahead or right before cooking-nothing in between.
But here’s where moisture becomes useful: when caramelizing onions, a splash of water when things start sticking actually helps. It deglazes the fond (those brown bits) and redistributes flavor back onto the onions. Low and slow, adding water as needed, gives you the deepest caramelization.
The Flavor Compounds You’re Creating
Scientists have identified over 200 distinct compounds produced during caramelization. You don’t need to memorize them, but understanding the categories helps:
Diacetyl gives buttery, butterscotch notes. It’s also what makes real butter smell like butter.
Furans contribute nutty, caramel-like flavors. These same compounds appear in coffee roasting and bread crust formation.
Maltol produces a toasty, bakery sweetness. Cotton candy manufacturers actually add synthetic maltol to enhance that carnival smell.
The ratio of these compounds depends entirely on temperature, time, and what type of sugar you’re using. Fructose caramelizes at a lower temperature than sucrose. Glucose takes even more heat. This is why honey (high fructose) browns faster than table sugar in baking.
Practical Applications You Can Use Tonight
For caramelized onions that don’t take forever: Add a tiny pinch of baking soda. The alkaline environment accelerates browning reactions. Just don’t overdo it-too much creates a soapy taste and mushy texture. We’re talking 1/8 teaspoon per pound of onions.
For better steak crusts: Get your pan ripping hot-cast iron works best. Don’t touch the meat once it hits the surface. Movement releases moisture and prevents proper contact browning. Flip once - that’s it.
For evenly browned vegetables: Cut pieces the same size. Sounds obvious, but uneven cuts mean some pieces burn while others barely color. Toss with a thin coat of oil (not too much-oil insulates and prevents direct pan contact) and spread in a single layer.
For perfect caramel sauce: Use the dry method if you’re comfortable with it-no water, just sugar in a pan, stirring constantly. It’s faster and gives deeper flavor. The wet method (sugar dissolved in water first) is safer for beginners but takes longer and can crystallize if you stir at the wrong moment.
Common Mistakes That Ruin Browning
**Too much oil. ** You need some fat, but excess oil creates a barrier between food and pan. Browning happens at the contact point-no contact, no browning.
**Cold ingredients. ** Refrigerator-cold meat drops pan temperature dramatically. Let proteins sit at room temperature for 30-45 minutes before cooking.
**Impatience - ** Browning takes time. Flipping constantly, stirring too often, or cranking heat because “nothing’s happening” leads to burnt exteriors and raw centers. Trust the process.
**Wrong pan choice. ** Nonstick coatings actually prevent optimal browning-they’re too slippery and don’t retain heat well. Stainless steel or cast iron gives superior results.
The Temperature Sweet Spot
There’s a narrow window where perfect browning occurs without burning. Too low and you’re just drying food out. Too high and you’re creating carbon instead of flavor compounds.
For most stovetop browning, medium-high heat works best. You should hear active sizzling-not spitting or smoking, but a consistent energetic sound. If there’s no sizzle, your pan’s too cold. If you see smoke, you’ve gone too far.
Oven browning generally happens between 375-425°F. Roasted vegetables caramelize beautifully at 400°F. Bread crusts form best around 425°F. Higher than 450°F and you risk the outside burning before the interior cooks through.
One more thing: altitude affects these numbers. Water evaporates faster at higher elevations, so browning can happen quicker (and things can burn faster too). If you’re cooking in Denver or similar high-altitude locations, reduce temperatures by about 25°F.
Why This All Matters
Understanding caramelization is more than food nerd trivia. It’s practical knowledge that makes you a better cook. When you know that moisture blocks browning, you’ll instinctively pat that chicken dry. When you understand temperature thresholds, you’ll wait for the pan to heat properly instead of throwing food into lukewarm oil.
And honestly? There’s something satisfying about knowing exactly why your food tastes incredible. The golden crust on French onion soup, the crackling caramel shell on crème brûlée, the deep brown sear on your burger-none of it is magic. It’s chemistry you can control.
So next time you’re at the stove, pay attention to what’s happening. Listen for the sizzle - watch the color develop. Notice how aroma changes as browning progresses.
That’s not just cooking - that’s science you can eat.