Open-Fire Cooking: Ancient Technique for Modern Kitchens

There’s something almost primal about cooking over an open flame. That crackle of burning wood, the dancing heat, the way smoke curls around your food-it connects you to thousands of years of human culinary history. And but: you don’t need a fancy restaurant kitchen or a cabin in the woods to experience it.
Open-fire cooking is having a serious moment right now, and for good reason. Chefs at high-end restaurants have been using wood-fired techniques for years to achieve flavors that gas and electric simply can’t replicate. But this is more than for professionals anymore.
Why Fire Changes Everything
Have you ever wondered why a steak from a steakhouse tastes different from the one you make at home? A big part of that answer is heat-and not just any heat.
Wood-fired cooking reaches temperatures that most home setups can’t touch. We’re talking 700°F or higher in some cases. At those temperatures, something magical happens. The Maillard reaction (that’s the scientific term for browning) kicks into overdrive. Proteins and sugars on the surface of your food transform into hundreds of new flavor compounds in seconds.
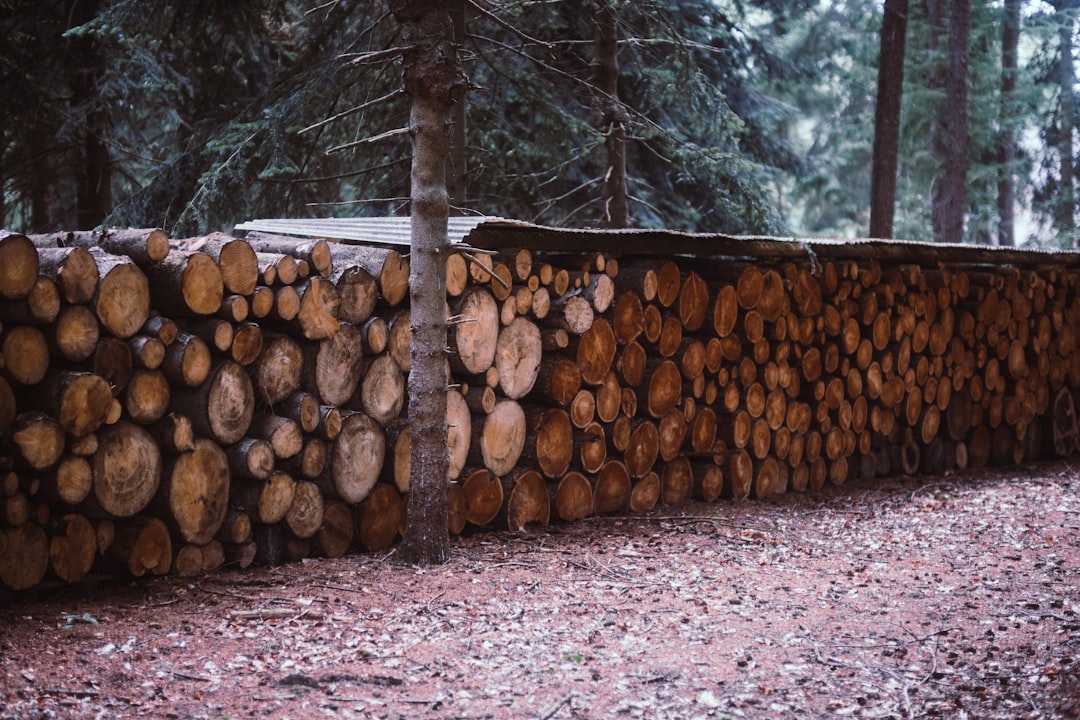
Then there’s the smoke. Different woods contribute different flavor profiles. Hickory gives you that classic barbecue punch. Apple wood is sweeter, more subtle. Mesquite burns hot and fast with an intense, almost bitter edge that works beautifully with beef. Oak sits somewhere in the middle-reliable, balanced, versatile.
But fire cooking is more than about adding smoky flavor. It’s about the way heat moves through food differently when it comes from burning embers versus a gas burner. Radiant heat from coals penetrates more evenly. You get better crust formation while keeping interiors juicy.
Getting Started Without Breaking the Bank
You probably already own something that can get you cooking with fire. Got a charcoal grill - you’re halfway there. Even a basic Weber kettle becomes a legitimate wood-fire cooking station with a few adjustments.
Start by adding wood chunks to your charcoal. Not chips-chunks - chips burn up too fast. Chunks the size of your fist will smolder and smoke for the duration of your cook. Soak them for 30 minutes beforehand if you want more smoke and less flame.
For those ready to go deeper, a fire pit with a grill grate opens up possibilities. You can cook directly over flames for high-heat searing, or push coals to one side and work with indirect heat for larger cuts. Cast iron skillets become your best friend here. They handle the extreme temperatures without complaint and develop incredible seasoning over time.
Want to get really traditional? Look into Argentine-style grills with adjustable grates. The ability to raise and lower your cooking surface over the fire gives you precise temperature control that rivals any stovetop.
Mastering the Flames: Practical Techniques
Here’s where most beginners mess up: they start cooking before the fire is ready.
You want flames for starting your fire, but you don’t want to cook over active flames. Those orange tongues licking at your food will leave behind soot and acrid flavors. What you’re after is a bed of glowing coals-white-hot embers that radiate steady, intense heat.
Building this takes patience. Light your fire and let it burn down for 30 to 45 minutes. Push the coals around with a long poker or shovel to create different heat zones. Pile them high on one side for searing. Spread them thin on the other for gentler cooking. Leave a section with no coals at all-this becomes your safety zone where you can move food that’s cooking too fast.
The two-zone setup is your foundation for almost everything. Sear a ribeye directly over the hot coals for 90 seconds per side to build that crackling crust. Then slide it to the cooler zone to finish gently without burning the exterior.
For vegetables, direct heat works wonders. Whole peppers, onion halves, corn in the husk-they all benefit from that charred, blistered exterior. The natural sugars caramelize intensely. Bitter compounds in vegetables like broccoli or Brussels sprouts mellow out while developing sweet, nutty notes.
The Flavor Factor: Wood Selection Matters
Not all wood is created equal. And not all wood is safe.
Stick with hardwoods. Fruit woods (apple, cherry, peach) burn cleaner and impart milder, sweeter smoke. Nut woods (pecan, walnut) offer richness without overwhelming. Traditional barbecue woods (hickory, oak, mesquite) bring more assertive flavors.
Avoid softwoods like pine, cedar, or spruce for cooking. They contain resins that create unpleasant, sometimes harmful smoke. The exception is cedar planks for salmon-but that’s a different technique where the fish doesn’t contact the wood directly as it burns.
Never burn treated lumber, painted wood, or anything that isn’t pure, natural hardwood. The chemicals released aren’t something you want anywhere near your food.
Matching wood to protein takes some experimentation. General guidelines to start:
- Beef: Oak, hickory, or mesquite stand up to its strong flavor
- Pork: Apple or cherry adds complementary sweetness
- Chicken: Pecan or a blend of fruit woods work well
- Fish: Go light-alder is traditional for salmon, or use oak sparingly
- Vegetables: Fruit woods or oak; nothing too aggressive
But honestly - these are just starting points. Part of the fun is discovering your own preferences.
Common Mistakes and How to Dodge Them
Flare-ups happen. Fat drips onto coals, flames shoot up, panic sets in. The fix is simple: move your food. That’s why you maintain different heat zones. Flames die down fast once the fat burns off.
Temperature control trips people up constantly. Without a dial to turn, how do you know how hot your fire is? Use the hand test. Hold your palm about five inches above the cooking surface. If you can only stand it for two seconds, you’re in the searing zone (500°F+). Three to four seconds means medium-high. Five to six is medium. Any longer and you need more coals.
Another rookie error: adding cold food to the fire. Meat straight from the fridge drops your cooking temperature dramatically and extends cooking time. Take proteins out 30 to 45 minutes before cooking. Room temperature food cooks more evenly.
Overcrowding kills your fire’s effectiveness too. Every piece of food you add absorbs heat. Pack your grill too full and nothing sears properly-you end up steaming instead. Give everything space - cook in batches if needed.
Beyond Grilling: Expanding Your Fire Repertoire
Once you’ve got the basics down, the possibilities multiply.
Cast iron opens up an entire world. Set a skillet right on the coals and you’ve got the hottest pan you’ve ever cooked in. Perfect for smash burgers, for crisping chicken skin, for blistering shishito peppers in seconds.
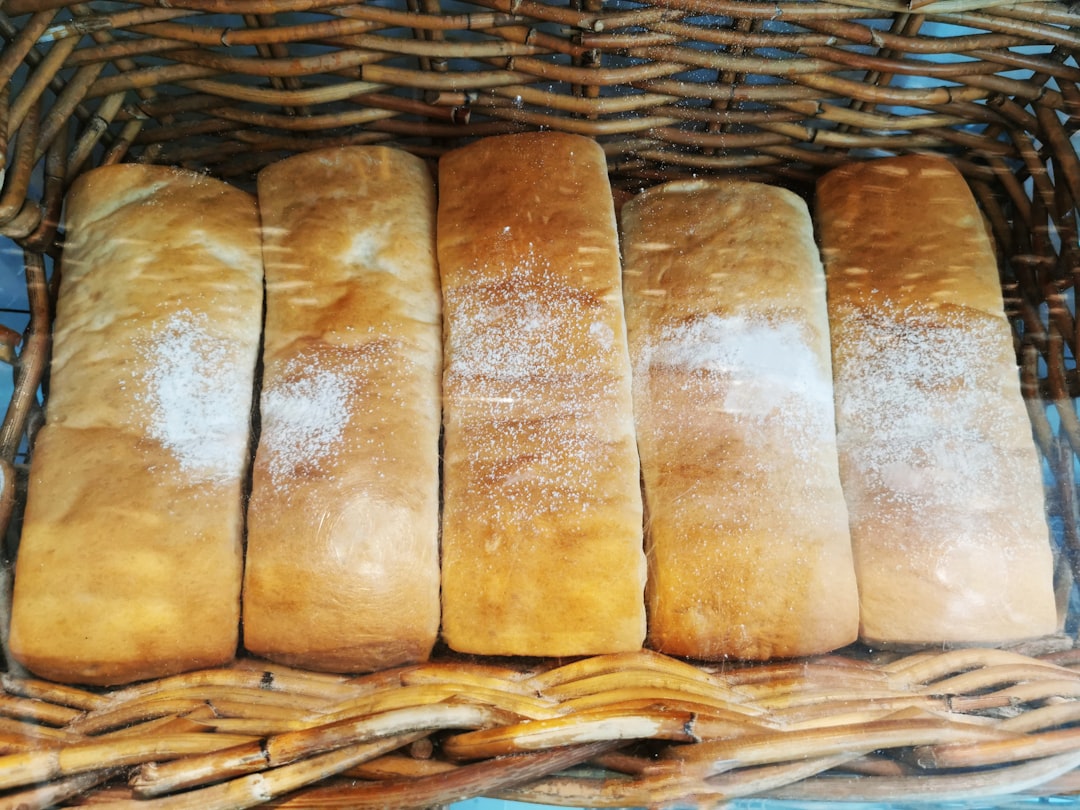
Dutch ovens turn your fire pit into an oven. Nestle one in the coals, pile more coals on the lid, and you’re baking bread, braising short ribs, making cobblers. The even, surrounding heat creates results that rival any indoor oven.
Whole animal cookery becomes accessible too. A spatchcocked chicken over indirect heat takes maybe 45 minutes and develops skin so crispy it shatters when you bite into it. Fish in a wire basket, flipped once over medium coals, stays intact and picks up gorgeous char marks.
Even dessert works. Grilled peaches with a scoop of vanilla ice cream. Charred pineapple with a rum glaze. Stone fruits especially love fire-the heat concentrates their sugars and adds complexity.
Making It Work in Your Space
Not everyone has a sprawling backyard. But open-fire cooking scales down surprisingly well.
Small hibachi-style grills work on apartment balconies where allowed. Tabletop fire pits designed for cooking fit on patios. Some people even use chimney starters as impromptu high-heat cooking stations-light your coals in the chimney, set a grate on top, and sear away.
Check your local regulations first. Many areas have restrictions on open flames, especially during dry seasons or in multi-unit buildings. Safety matters more than any meal.
Keep a spray bottle of water nearby for minor flare-ups. Have a fire extinguisher accessible. Never leave a live fire unattended. And let those coals die completely before disposing of ash-they can stay hot for hours longer than you’d expect.
The Real Reward
There’s a meditative quality to fire cooking that you don’t get from other methods. You can’t rush it. You can’t set a timer and walk away. The fire demands your attention, and in return, it gives you something special.
Maybe it’s the connection to how humans have cooked for millennia. Maybe it’s just that food tastes better when you’ve worked for it. Either way, once you start cooking over real fire, cranking the dial on your gas burner never feels quite the same.
Start simple - a few steaks. Some vegetables. Learn how your particular setup behaves-every fire is different. Then build from there.
The learning curve is part of the appeal. Every cook teaches you something. And the results, even when imperfect, carry a character that no other cooking method can match.