Why Your Homemade Bread Fails and How to Fix It

Nothing beats the smell of fresh bread baking. Except maybe the disappointment when you pull out a dense brick instead of a fluffy loaf.
I’ve been there. More times than I’d like to admit. That moment when you slice into what should be beautiful homemade bread, only to find it’s dense enough to use as a doorstop? Yeah - not fun.
But but: bread baking isn’t actually that hard. Most failures come down to a handful of common mistakes. Fix those, and you’re golden.
Your Yeast Might Be Dead (Or You Killed It)
This is the number one bread killer. Your yeast needs to be alive and active to do its job. If your bread isn’t rising, start here.
First, check the expiration date on your yeast packet. Old yeast loses its punch. Even if it’s not technically expired, yeast that’s been sitting in your pantry for two years probably won’t perform well.
Second-and this is where most people mess up-water temperature matters. A lot - yeast is picky. Too cold and it stays dormant. Too hot and you’ve got dead yeast.
The sweet spot? Between 100°F and 110°F (38°C to 43°C). That’s warm to the touch but not hot. If you don’t have a thermometer, test it on your wrist like baby formula. Should feel comfortably warm.
I watched my mom kill yeast for years by pouring boiling water into her dough. She blamed the flour - she blamed the oven. Never once checked the water temperature. Don’t be my mom.
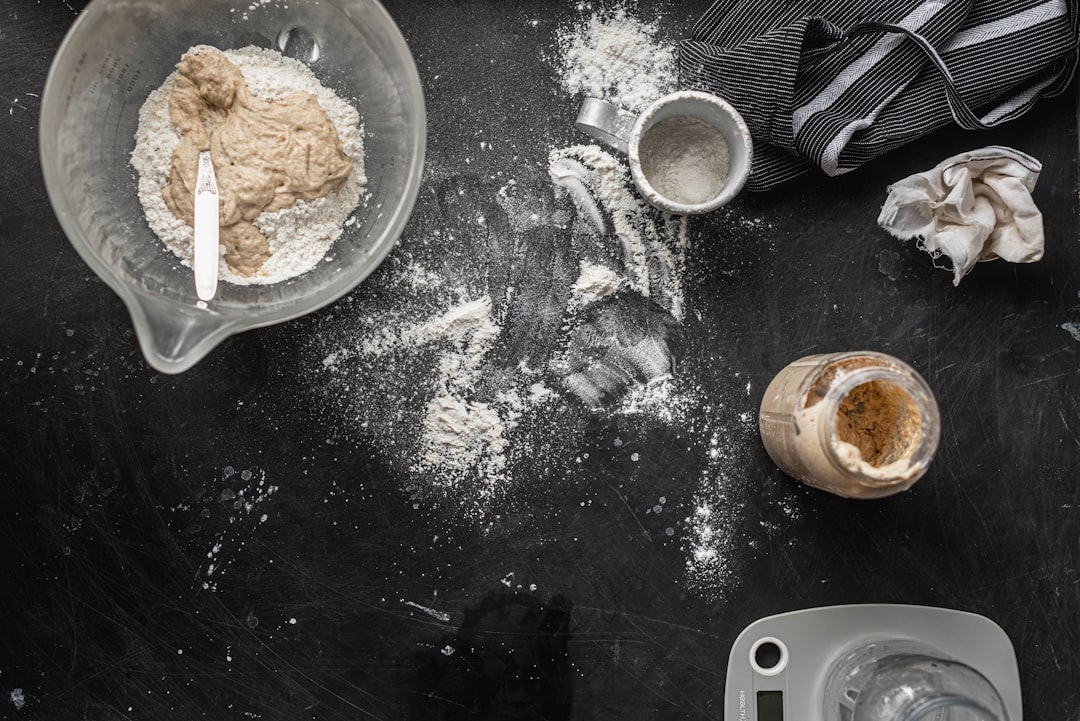
To proof your yeast and make sure it’s alive: dissolve a teaspoon of sugar in warm water, sprinkle the yeast on top, and wait 5-10 minutes. You should see bubbles and foam. No activity - your yeast is dead. Get new yeast before you waste more ingredients.
You’re Not Kneading Enough (Or You’re Overdoing It)
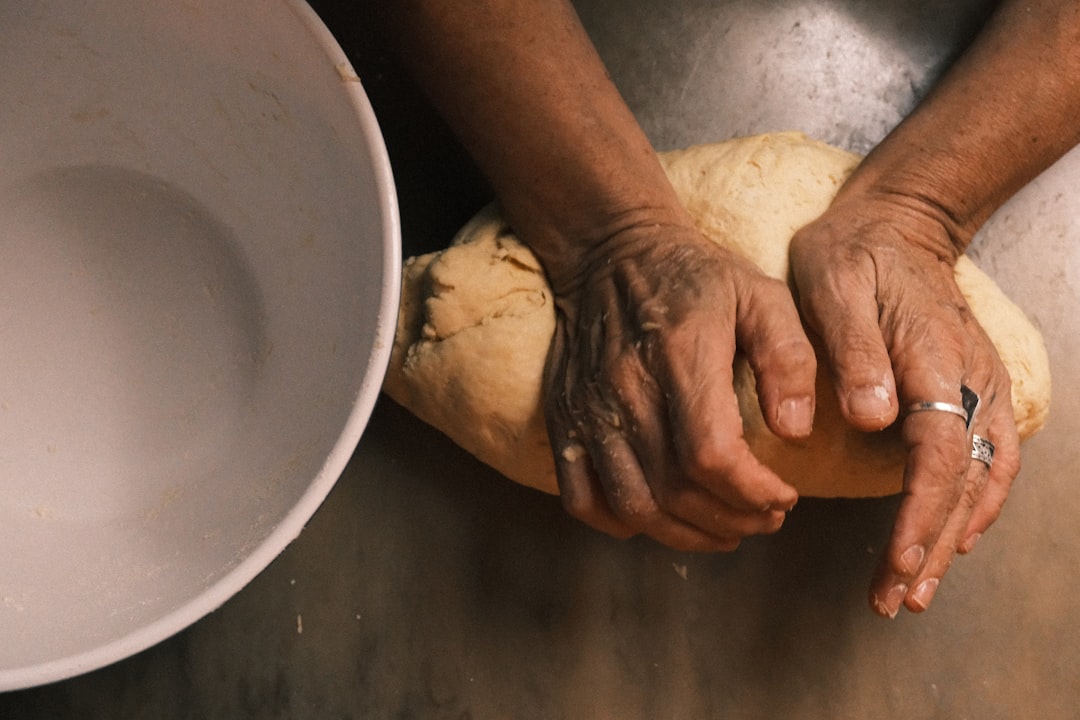
Gluten development separates good bread from bad bread. Kneading builds that gluten network that traps gas and gives bread its structure.
Under-kneaded dough won’t hold its shape. It spreads out flat instead of rising up. The texture ends up coarse and crumbly.
Over-kneaded dough - also a problem. The gluten gets so tight that the bread becomes tough and chewy in a bad way. This is harder to do by hand but easy with a stand mixer.
How do you know when you’ve kneaded enough?
Do the windowpane test. Tear off a small piece of dough and stretch it gently between your fingers. If you can stretch it thin enough to see light through without it tearing, you’re done. If it rips immediately, keep kneading.
Most recipes say “knead for 10 minutes. " That’s a rough guide - some doughs need 8 minutes. Some need 15. Your hands and the windowpane test tell the real story.
And here’s something nobody tells beginners: wet dough is supposed to feel sticky at first. Resist the urge to dump in more flour. Give it a few minutes of kneading. The stickiness usually works itself out as gluten develops.
The Rising Environment Is Wrong
Yeast needs warmth to work. If your kitchen is cold, your bread won’t rise properly. Or it’ll take forever.
Ideal rising temperature is around 75°F to 80°F (24°C to 27°C). Most houses are cooler than that, especially in winter.
Tricks that actually work:
- Turn your oven light on (don’t turn on the oven itself) and let dough rise inside
- Put the dough bowl on top of your refrigerator where it’s warmer
- Place the bowl near a sunny window
- Set it on top of your dryer while running a load
- Boil water, put it in a bowl, and place it next to your dough in a closed oven
Don’t rush the rise by cranking up the heat though. Rising too fast gives bread a weird yeasty taste and uneven texture. Patience pays off.
Also, cover your dough - always. Exposed dough forms a skin that prevents proper rising. Plastic wrap works - a damp towel works. Even a shower cap works - just keep that moisture in.
You’re Using the Wrong Flour
All flour is not created equal. Bread flour and all-purpose flour behave differently.
Bread flour has more protein (around 12-14%) which means more gluten development. Better structure - higher rise. Chewier texture.
All-purpose flour has less protein (10-12%). You can make bread with it, but the results won’t be as impressive. The loaf might spread more and rise less.
Cake flour - don’t even think about it. Way too little protein. You’ll end up with a flat, cakey mess.
If you’re serious about bread, invest in actual bread flour. King Arthur is solid - so is Bob’s Red Mill. Store brands work fine too-just check the protein content on the nutrition label.
One more thing: flour absorbs moisture from the air. In humid weather, you might need less liquid. In dry winter months, you might need a splash more. Recipes give you guidelines, not laws. Adjust based on how your dough actually feels.
Your Oven Lies to You
Here’s an uncomfortable truth: most home ovens are off by 25 degrees or more. Sometimes way more.
You set it to 400°F. Your oven decides 375°F sounds good enough. And then wonders why your bread is pale and undercooked in the middle.
Get an oven thermometer. They cost like $7 at any grocery store. Hang it from the rack and check the actual temperature. Then adjust accordingly.
Also, where you place your bread matters. The bottom rack runs hotter from the heating element. The top rack gets more radiant heat. Middle rack is usually safest for even baking.
Steam helps too, especially for crusty breads. Professional ovens inject steam during baking.
- Throw a few ice cubes on the oven floor when you put the bread in
- Spray the oven walls with water from a spray bottle
- Put a cast iron pan on the bottom rack and pour hot water into it
Steam keeps the crust soft during the first part of baking, allowing maximum rise. Then the moisture evaporates and the crust gets crispy.
Common Problems and Quick Fixes
Bread is too dense: Usually under-proofed or yeast problems. Let it rise longer next time. Make sure your yeast is active.
Bread collapsed: Over-proofed. The gluten structure got too stretched and couldn’t hold the gas. Rise for less time.
Giant holes inside: Under-kneaded, or you didn’t punch down the dough before shaping. Those big air pockets need to be worked out.
Gummy texture: Under-baked. The internal temperature should reach 190-200°F (88-93°C) for most breads. Use an instant-read thermometer.
Tough crust: Too much flour on the outside during shaping, or baked too long at too low a temperature.
Bread doesn’t brown: Oven temp too low, or no sugar in the recipe. Sugar helps browning. You can also brush milk or egg wash on top before baking.
Start Simple and Build Up
Don’t attempt artisan sourdough on your first try. Seriously - sourdough starters are finicky. They take weeks to develop. And diagnosing problems requires experience you don’t have yet.
Start with a basic no-knead bread recipe. Or a simple sandwich loaf with commercial yeast. Get comfortable with how dough should look and feel. Learn your oven’s quirks - build confidence.
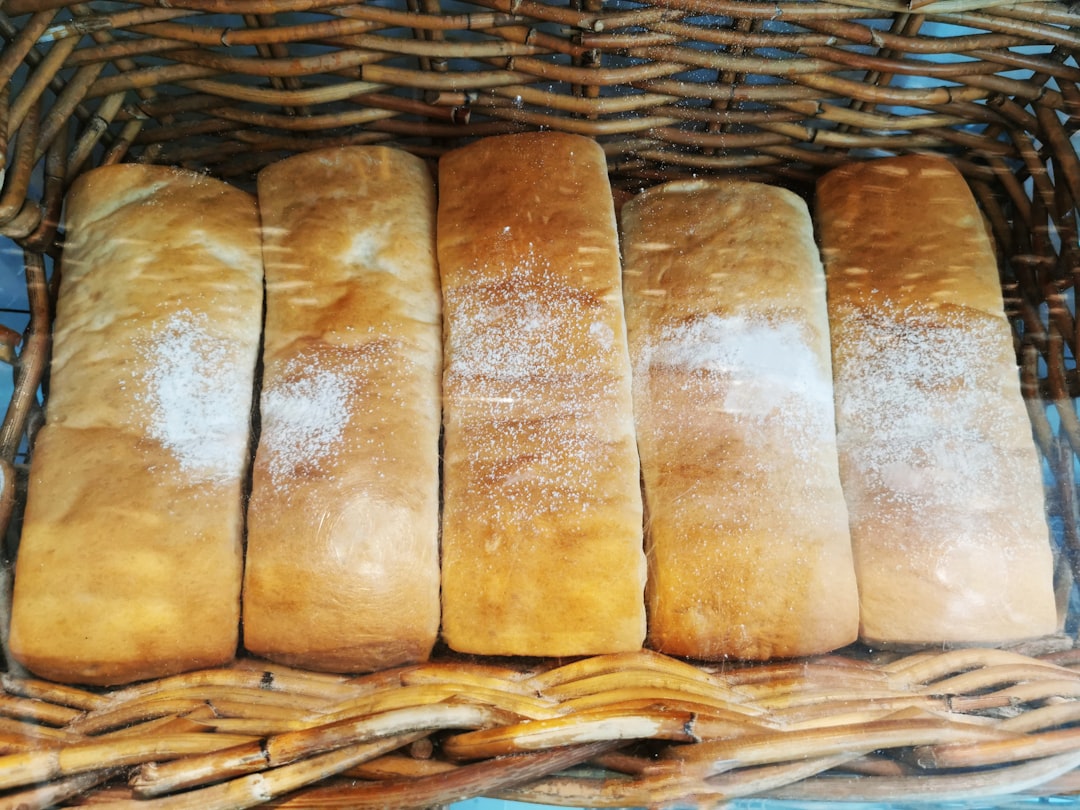
Then graduate to more complex recipes. Brioche - ciabatta. Focaccia. Eventually sourdough if that’s your goal.
Bread baking rewards patience and practice. Your tenth loaf will be better than your first. Your fiftieth will be better still.
And honestly? Even your failures are usually still edible. Dense bread makes great toast - flat bread becomes killer croutons. Nothing goes to waste.
So stop buying grocery store bread and start baking. Make mistakes - learn from them. Before long, you’ll be the person everyone asks to bring rolls to Thanksgiving.