Understanding Heat: When to Use High vs Low Temperatures
You’ve probably been there. Standing at the stove, pan smoking, wondering if you should crank the heat up or dial it back. Maybe your chicken turned out dry. Or your onions burned before they softened. Heat control is one of those things that separates okay home cooks from confident ones.
And but - it’s not complicated once you understand what’s actually happening in your pan.
Why Temperature Matters More Than You Think
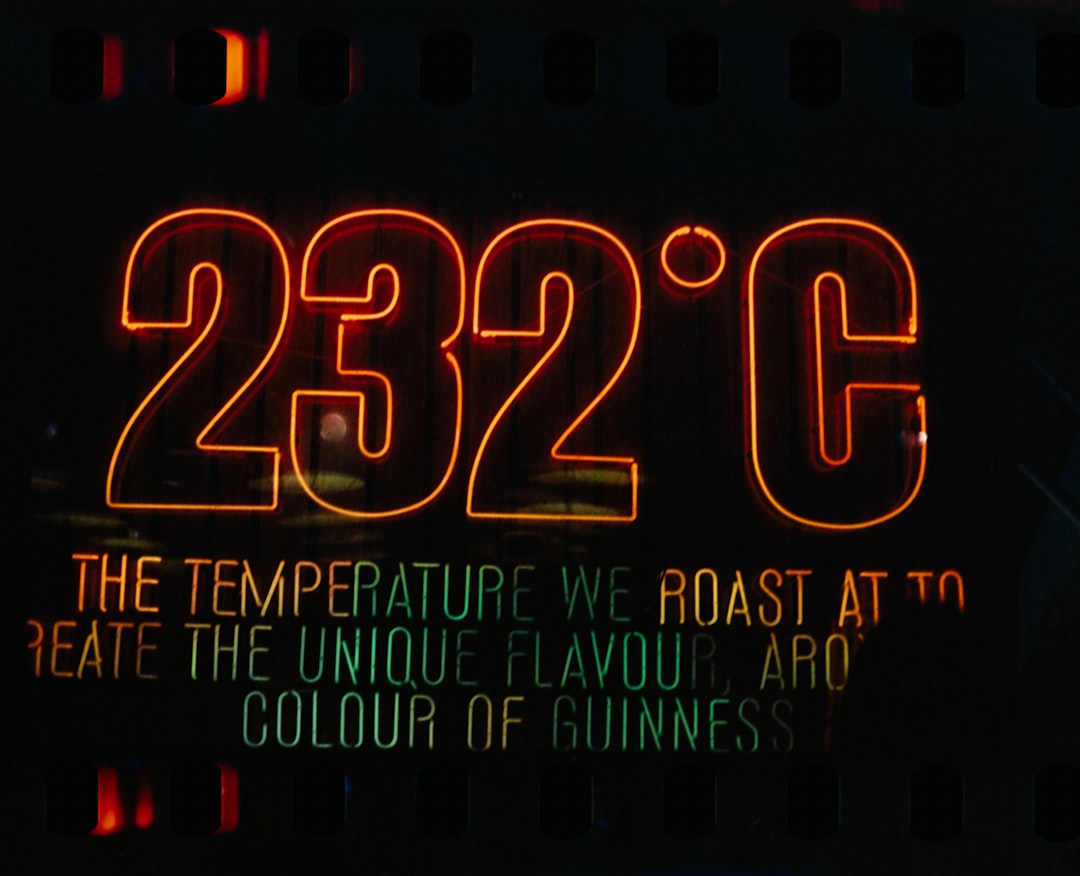
Heat does different things to food depending on how much you apply. High heat creates browning and crispiness through something called the Maillard reaction. That’s the chemical process that gives seared steak its crust and makes roasted vegetables taste so much better than steamed ones. It happens around 280-330°F (140-165°C) at the food’s surface.
Low heat, on the other hand, lets you cook food gently. Proteins don’t seize up and toughen. Moisture stays inside. Flavors have time to develop and meld together.
The mistake most people make - using medium heat for everything. It’s safe, sure. But it’s also why food often turns out… fine - just fine.
When to Blast the Heat
High heat is your friend when you want:
**A good sear on meat. ** Whether it’s a ribeye or chicken thighs, you need serious heat to get that golden-brown crust. Pat your protein dry first - moisture is the enemy of browning. Get your pan ripping hot (you’ll see a wisp of smoke from the oil), then lay the meat down and don’t touch it. Seriously. Leave it alone for 3-4 minutes.
**Stir-frying vegetables. ** Traditional wok cooking uses extremely high heat. Your broccoli should spend maybe 2-3 minutes in the pan, max. High heat keeps vegetables crisp-tender instead of soggy.
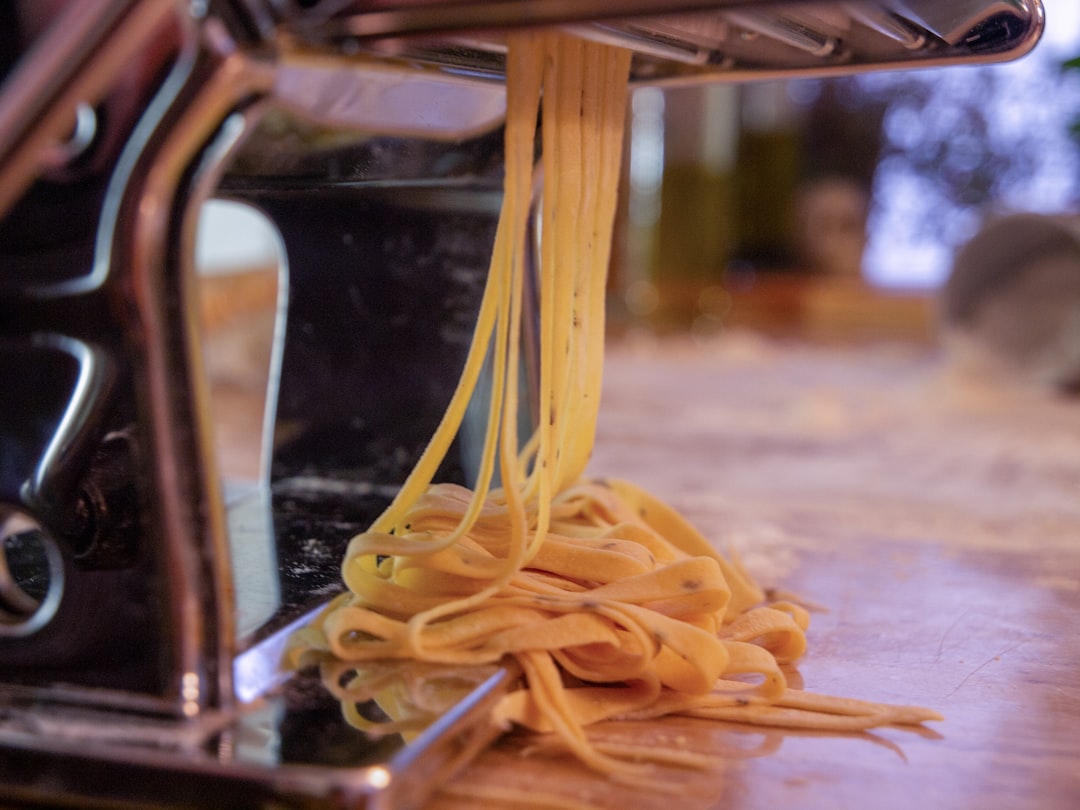
**Boiling pasta water. ** Seems obvious, but many people don’t get their water to a true rolling boil. You want aggressive bubbles. This keeps pasta moving so it cooks evenly and doesn’t stick together.
**Quick-cooking thin items. ** Shrimp, fish fillets under an inch thick, thinly sliced vegetables - these benefit from fast, hot cooking. In and out before they overcook.
One warning about high heat: it requires your full attention. Walk away to check your phone and dinner becomes charcoal. Also, not all pans handle high heat well. Nonstick coatings can release toxic fumes above 500°F. Stick with stainless steel, cast iron, or carbon steel when cooking hot.
When to Keep Things Low and Slow
Low heat shines when:
**Making sauces and reductions. ** Tomato sauce that simmers for an hour tastes completely different from one that boils for 20 minutes. Low heat lets acids mellow, flavors concentrate, and everything comes together. A bare simmer - just a few bubbles breaking the surface - is what you’re after.
**Cooking eggs. ** Scrambled eggs over low heat, stirred constantly, turn out creamy and custard-like. Rush them over high heat and you get rubbery curds. Same goes for omelets - a gentler approach gives you that soft, barely-set texture.
**Sweating aromatics. ** Onions, garlic, celery, carrots - the flavor base of countless dishes. You want these to soften and release their flavors without browning. Medium-low heat, maybe 10-15 minutes for onions to turn translucent and sweet.
**Braising tough cuts. ** Chuck roast, pork shoulder, lamb shanks. These cuts have lots of connective tissue that needs to break down into gelatin. That process happens around 160-180°F internal temperature, maintained for hours. A 275°F oven or a gentle stovetop simmer does the job.
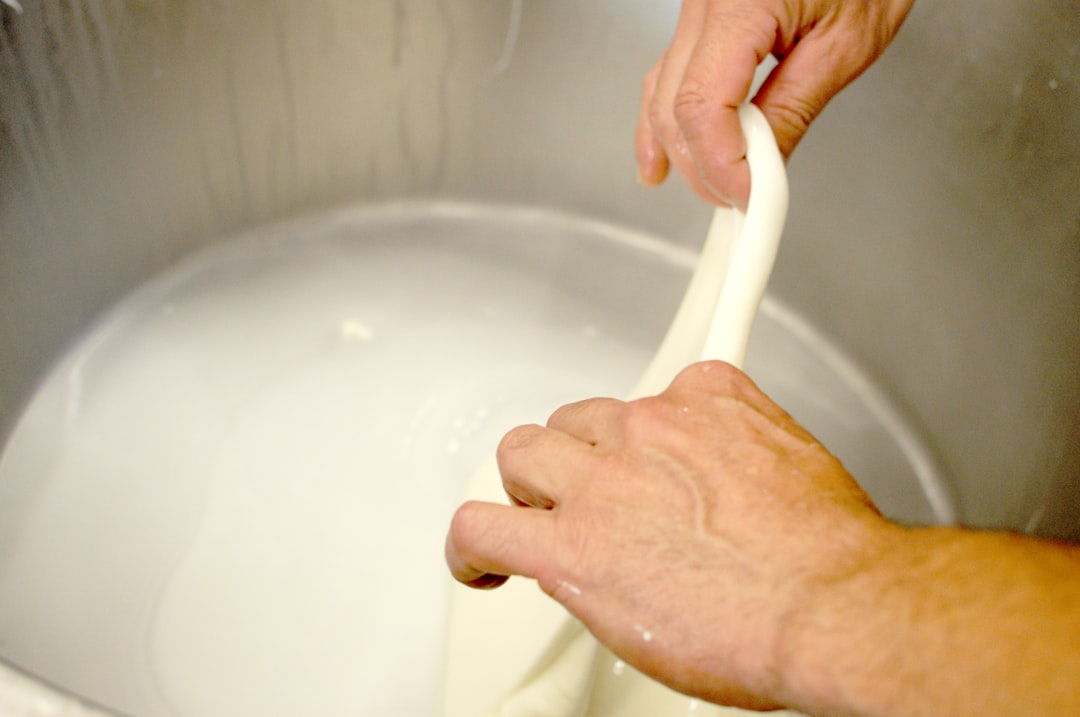
**Melting chocolate or butter. ** Both can seize or separate at high temperatures. A double boiler setup or the lowest setting on your stove keeps things smooth.
The Middle Ground: Medium Heat
Medium heat isn’t useless - it’s just specific in its applications.
Pancakes need medium heat. Too hot and the outside burns before the inside cooks through. Too low and you won’t get that golden color. The first pancake is almost always a test run while the pan finds its temperature.
Sautéing falls in this range too. When you’re cooking diced vegetables for a soup base or browning ground meat, medium to medium-high gives you some color while still cooking things through.
Frying at medium temperatures (around 350°F) is the sweet spot for most breaded foods. Hot enough to crisp the coating, not so hot that it burns before the inside cooks.
Reading Your Pan: Visual Cues That Help
Your pan tells you what’s happening if you pay attention.
**Water droplet test. ** Flick a few drops of water into your pan. At medium heat, they’ll sizzle and evaporate within a couple seconds. At high heat, they’ll dance around in little balls before disappearing (that’s called the Leidenfrost effect). If they just sit there, your pan isn’t hot enough.
**Oil behavior - ** Cold oil sits still. As it heats, it becomes more fluid and starts to shimmer. You’ll see ripples across the surface. Just before the smoke point, you’ll notice thin wisps rising. That’s your cue for high-heat cooking.
**Food sounds. ** A proper sear makes a loud, steady sizzle. If your meat goes into the pan and you hear… silence - not hot enough. If it sounds angry and spattery, maybe too hot. You want consistent, confident sizzle.
Common Temperature Mistakes (And How to Fix Them)
**Starting with a cold pan - ** This is huge. Unless you’re specifically rendering fat or sweating aromatics, let your pan preheat for 2-3 minutes before adding anything. Food sticks to cold pans - proteins especially.
**Crowding the pan. ** Even at high heat, too much food drops the temperature fast. Moisture can’t escape quickly enough, so instead of browning, your food steams. Cook in batches if needed. Your future self will thank you.
**Not adjusting as you go. ** Most cooking requires temperature changes. Start chicken skin-side down over medium-high to crisp the skin, then flip and reduce to medium to cook through. Recipes often tell you what to do but not why. Now you know.
**Ignoring carryover cooking. ** Food keeps cooking after you remove it from heat. A steak at 130°F will climb another 5-10 degrees while resting. Pull things off the heat slightly before they’re “done” and let residual heat finish the job.
Quick Reference by Food Type
| Food | Heat Level | Why |
|---|---|---|
| Thick steaks | High then lower | Crust first, gentle finish |
| Chicken breast | Medium | Even cooking, no burning |
| Fish fillets | Medium-high | Quick cook, delicate flesh |
| Soups/stews | Low | Flavors develop, meat tenderizes |
| Caramel | Medium-low then low | Control prevents burning |
| Fried eggs | Low-medium | Crispy edges optional, runny yolk protected |
| Grilled cheese | Medium-low | Cheese melts before bread burns |
Building Your Heat Instincts
Honestly, the best way to learn this stuff is experimentation. Next time you cook, pay attention. Really watch what happens when you adjust the dial. Notice how your food responds.
Try cooking the same dish twice - once rushed at high heat, once patiently at lower temperature. Taste the difference. You’ll start building intuition that no recipe can give you.
And when something goes wrong - that’s data. Burned garlic means your heat was too high or you left it too long. Pale, steamed chicken means not enough heat to brown it. Each mistake teaches you something.
Temperature control is a skill, not a gift. Everyone starts somewhere. The cooks who seem to “just know” when to adjust the flame? They burned plenty of dinners learning. So will you - that’s fine.
What matters is you’re paying attention now.